Being able to efficiently transfer data between platforms majorly contributes to real-time data processing. Leveraging webhooks to load data into Snowflake is one such cutting-edge approach that can bridge the gap between event-driven data generation and cloud-based analytics.
The Snowflake webhooks integration can streamline workflows and ensure that Snowflake repositories are constantly updated with the latest information. Some of the benefits of such an integration include real-time analytics, reduced latency, and improved operational efficiency. You can use webhooks to load data to Snowflake to ensure real-time integration of data along with an efficient and smooth workflow.
Let’s look into an overview of webhooks and Snowflake, and the methods that can help achieve this integration.
Overview of Webhooks
Webhooks is an HTTP callback-based mechanism. It gets triggered when any change occurs at the source system and sends the same information to the destination system. So, a webhook can be understood as a mediator between two systems, making communication easier. The source and destination systems include web-based applications or web pages.
Webhooks function in a very simple manner. When any change or event occurs in a software system, a predefined HTTP POST request is sent to a predefined URL in another system, which is a webhook endpoint. The payload of information about the change is delivered to this URL, which acts as a destination. The receiving system then takes actions or gets updated after processing the incoming information.
The prominent features of webhooks include:
- Event-based: Webhooks are activated by definite events or changes. These include a reader commenting on a blog post or a customer making a payment while purchasing from an e-commerce website.
- Reduces Time Lag: Webhook sends information of any change that has occurred at the source system instantaneously to the destination. Thus, the time lag in the flow of communication between the two systems is greatly reduced.
- Makes Data Integration Easier: Because of real-time communication, the data between two web applications or web pages can be integrated easily, making the work of developers easier.
Overview of Snowflake
Snowflake is an advanced cloud-based data warehouse that facilitates the storage and analysis of data using SQL querying. It can act as a destination for the ETL data integration process. Snowflake offers one of the best services for storing and computing data independently. You can host your Snowflake account on one of the three cloud platforms: AWS, Google Cloud Platform, and Microsoft Azure.
Many organizations move their data to Snowflake to gain unlimited scale and better performance. This is possible through features like on-the-fly scalable computing, data cloning, third-party tool support, etc. Snowflake appears to be the go-to choice for enterprises to store their data in a structured and semi-structured manner.
Here are the key features of Snowflake:
- Separation of Storage and Compute: Snowflake separates storage and compute, allowing you to independently scale storage or compute resources based on your needs. This results in cost savings and improved performance.
- Data Sharing: Snowflake offers secure data sharing capabilities, enabling you to share live data with internal and external stakeholders without duplicating data. This helps simplify data governance and collaboration.
- Support for Diverse Data: Snowflake can handle both structured and semi-structured data (like JSON, Avro, XML), allowing you to directly query and integrate different data types without having to transform or preprocess.
- Data Cloning and Time Travel: Snowflake supports data cloning or zero-copy cloning and time travel. You can use these features to directly query and integrate different data types without additional storage costs. The time travel feature allows you to access historical data within a defined period.
Methods to Load Data into Snowflake Using Webhooks
You can use webhooks to migrate and update data for any application. Let’s look into the details of the two methods for a Snowflake webhooks integration.
- Method 1: Using Estuary Flow to Load Data from Webhooks to Snowflake
- Method 2: Using Custom Scripts for Snowflake webhooks integration
Method 1: Using Estuary Flow to Load Data from Webhooks to Snowflake
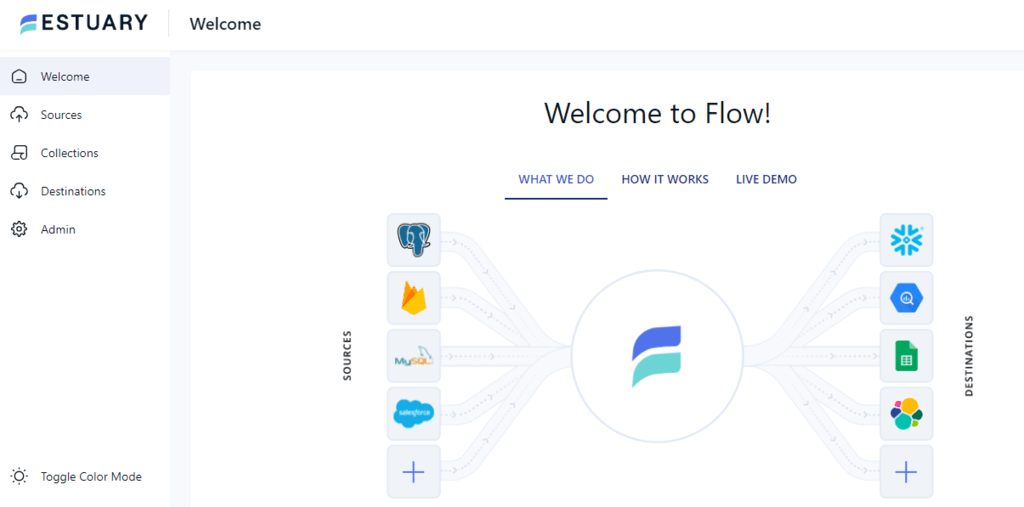
Estuary Flow is a real-time ETL data integration and migration tool that helps you with Snowflake webhooks connection. This data can be stored, retrieved, and analyzed when any need arises.
Step 1: Connect to Webhooks as Source
- Log in to your Estuary account or sign up for a free account.
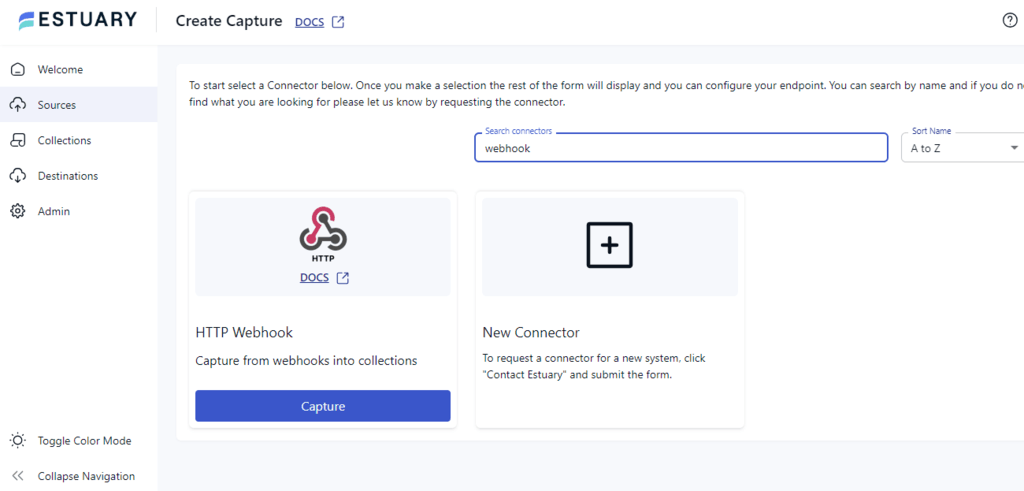
- On the main dashboard, click on the Sources tab on the left.
- Next, click the + NEW CAPTURE button on the top left corner of the tab.
- Type Webhook in the Search connectors tab. Click on the connector’s Capture button when you see it in the search results.
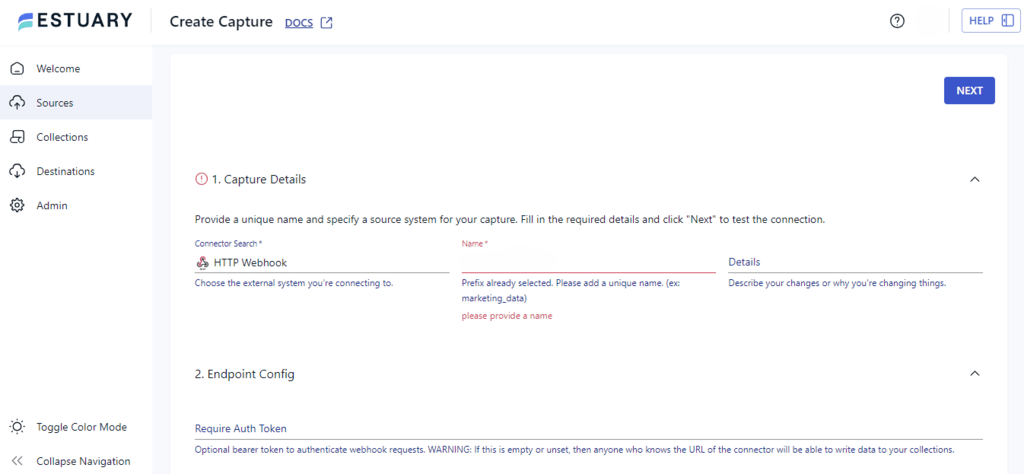
- On the Create Capture page, fill in the Name, URL path, and Authentication Token. Then, click on NEXT. The connector will capture data from incoming HTTP requests and turn them into a Flow collection.
Step 2: Connect to Snowflake as Destination
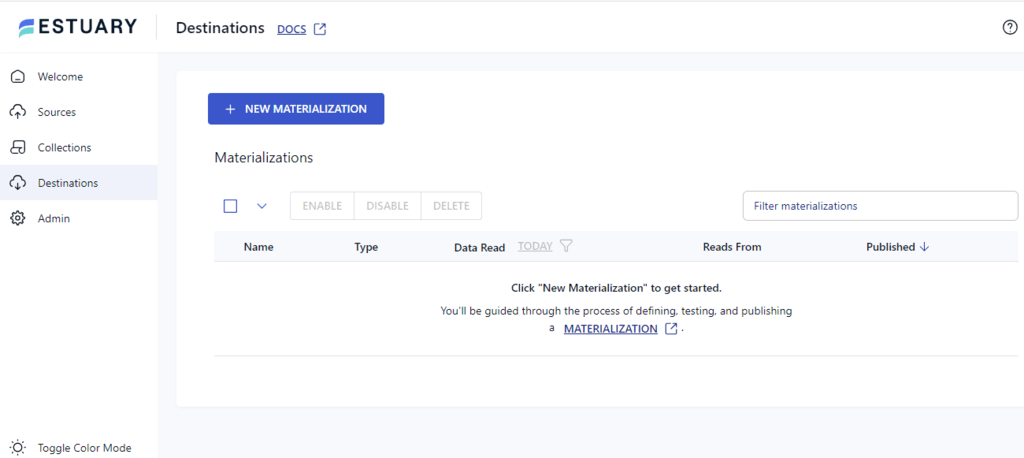
- Once the source is configured, click on the Destinations tab on the left side of the dashboard.
- Click on the + NEW MATERIALIZATION on the top left corner of the Destinations page.
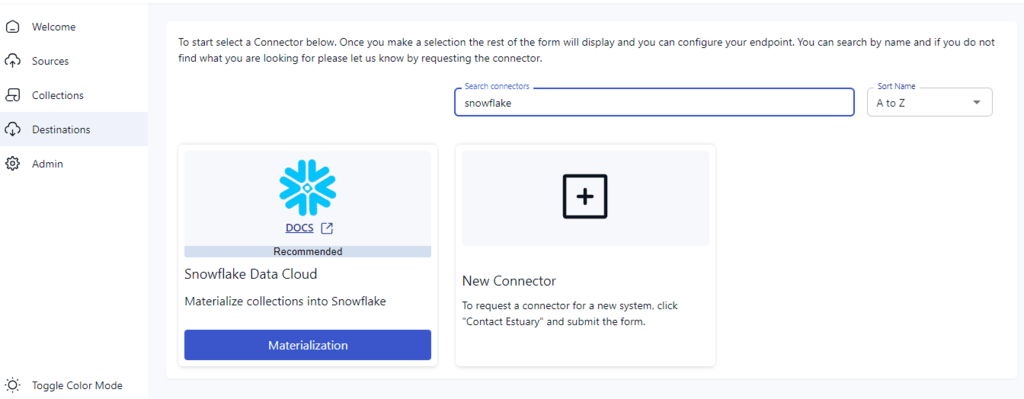
- In the Search connectors field, type Snowflake. The Snowflake connector will appear in the search results; click on its Materialization button.
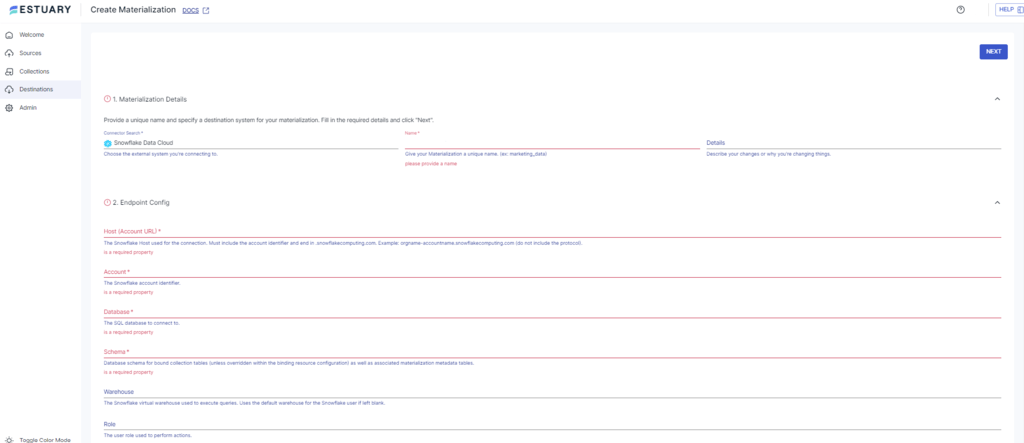
- You will be redirected to the Create Materialization page. Fill in the required details such as Host URL, Account, Name, Password, Database, and Schema.
- Consider using the Source Collections section to select the capture to materialize if it wasn’t selected automatically.
- Then, click on NEXT > SAVE AND PUBLISH. The connector materializes Flow collections into a Snowflake table.
With these simple steps, you can complete Snowflake webhooks integration with Estuary Flow.
Benefits of Using Estuary Flow
- Reduces Time and Labor Costs: Estuary Flow eliminates the need to invest hours in writing code for different kinds of data integration and migration processes. It also reduces the cost of hiring technical experts to create custom codes by offering built-in connectors.
- Change Data Capture (CDC) Functionality: Estuary Flow has a built-in CDC feature that enables it to capture changes made in the source databases. This ensures that data is continuously updated at the target destination.
- Effortless Data Sharing: The real-time working environment of Estuary Flow helps you process data in parallel. Thus, when you set up a Snowflake webhooks connection, you can make real-time changes in a hassle-free manner.
- Diverse Data Source Connectivity: It enables you to connect with a variety of data sources, databases, and SaaS applications, thanks to its 150+ readily available connectors.
Method 2: Using Custom Scripts for Snowflake Webhooks Integration
Webhooks can help load and update data for several applications and platforms. Take a look at the steps for establishing a Snowflake webhooks connection with custom code in the Python library.
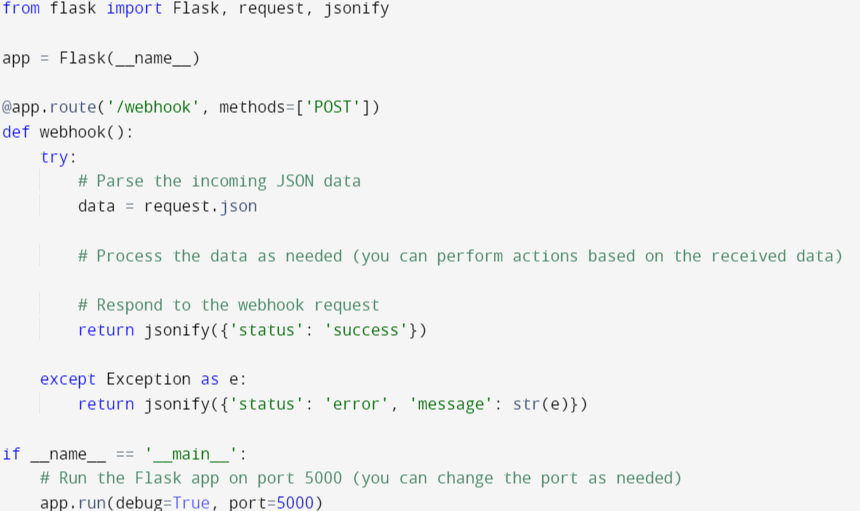
Step 1: Set Up a Webhooks Endpoint
First, you have to set up a Webhooks endpoint. Let’s consider an example using the Flask framework to complete this.
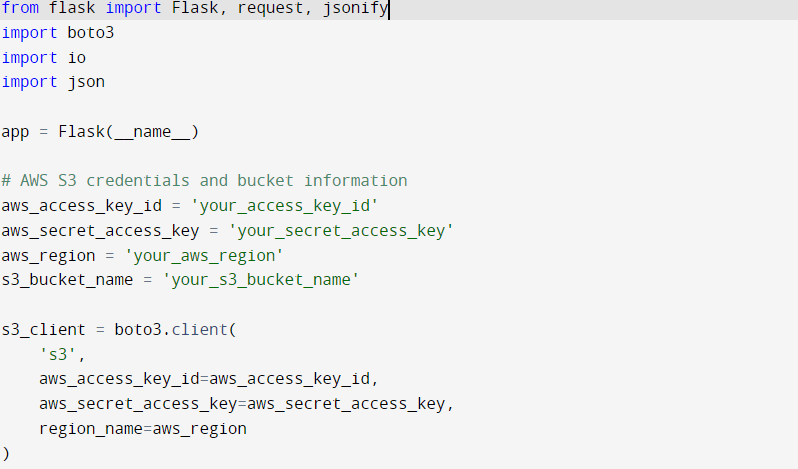
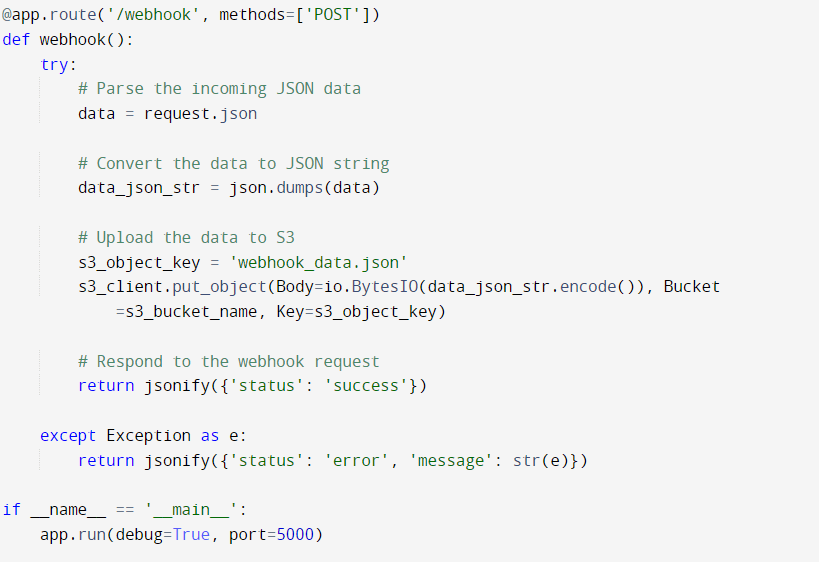
Step 2: Move Data from the Webhooks Endpoint to the S3 bucket as Intermediary Storage
You can use the Boto3 library from AWS S3 operations to move data from the webhooks endpoint to the S3 bucket.
To install Flask and Boto3:
plaintextPip install Flask boto3Step 3: Load S3 Data to Snowflake
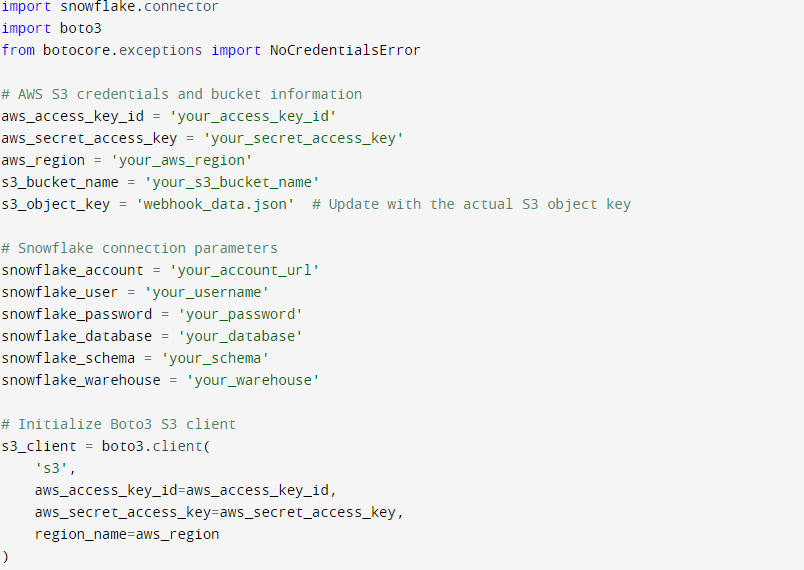
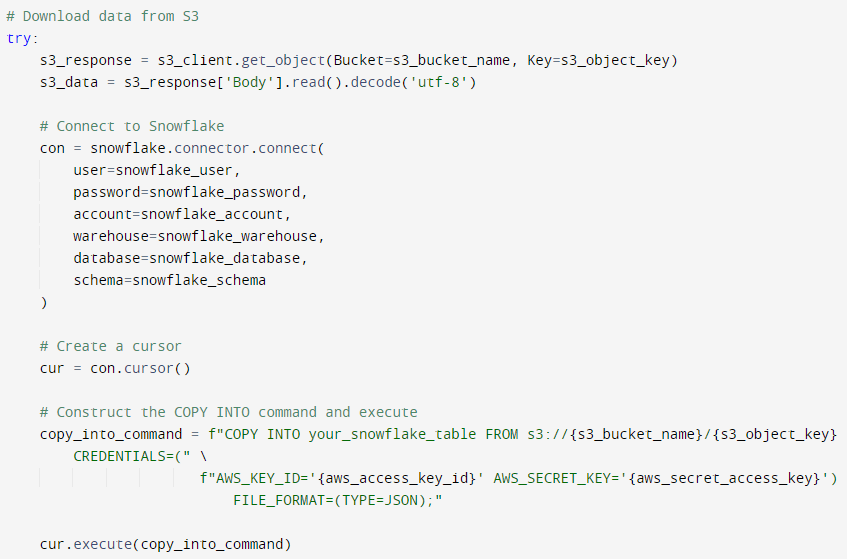
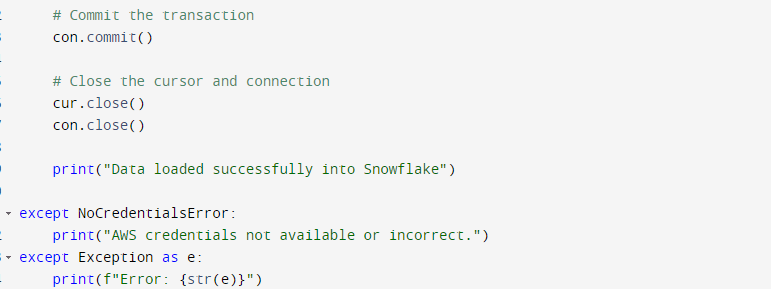
You can use the COPY INTO command to load data from the S3 bucket to Snowflake. Here, the ‘snowflake-connector-python’ library has been used to connect Snowflake and execute the COPY INTO command.
This concludes the custom script method to carry out Snowflake webhooks integration. However, there are certain limitations to this method, as mentioned below.
Limitations of Using the Manual Method
- Time-consuming: Using custom scripts for loading data is cumbersome as a lot of time is required to write code. Using SaaS tools like Estuary Flow is advantageous.
- Compromises Accuracy: The manual method of loading data may contain errors as there is a high probability of bugs in the code. It takes time for developers to identify and remove the issues. Due to this, pre-built connectors are preferable to custom codes.
- Complexity: Custom codes are often complex. If the need for customization arises, you will have to put a lot of effort into tweaking the code. It also becomes challenging to make changes to the code when you deal with large datasets.
Conclusion
A Snowflake webhooks integration is associated with the benefits of real-time data integration and analytics. This enhances operational efficiency by providing instant data updates and ensures that decision-makers can access the most current data.
There are two methods that you can use to load data from webhooks to Snowflake. Using custom scripts is one way to go about it. However, there are the associated limitations, such as coding complexity, time-consuming, and compromised accuracy. On the other hand, Estuary Flow offers a user-friendly, real-time solution for rapid implementation and effortless data sharing.
Estuary Flow, with its impressive array of features, is a suitable choice for your varied data integration needs. In just a few minutes, and with fewer clicks, you can get your data loading process running.
FAQs
How do I send data via webhook?
To send data via a webhook, first obtain the webhook URL from the receiving application. Next, input this URL into the sending application’s webhook settings and configure the events that should trigger the data transfer.
How do I send files through webhook?
To send files using webhook, use the Content-Type: multipart/form-data headers and set JSON body as the value of the payload_json parameter. Ensure each file has a unique parameter name to avoid collision.
What is the difference between API and webhook?
The main difference between API and webhook is how data is communicated. APIs require the recipient to make requests to the server to retrieve data, whereas webhooks automatically push data to the recipient when the specified events occur. This makes webhooks more efficient for real-time data transfer.

Author
Popular Articles


